- Precision in Electrochemistry
- English
Installation of Thales software
Activate the Targerting and advertising Cookies from the cookies preferences to open the video.
Installation of Thales software
In this section, installation of the Thales software, calibration data and Zahner Analysis software is described.
2.1 Installation of Thales software
Insert the ThalesXT USB into the USB connector of your laptop. Start the run setup.exe from the root directory of the USB.
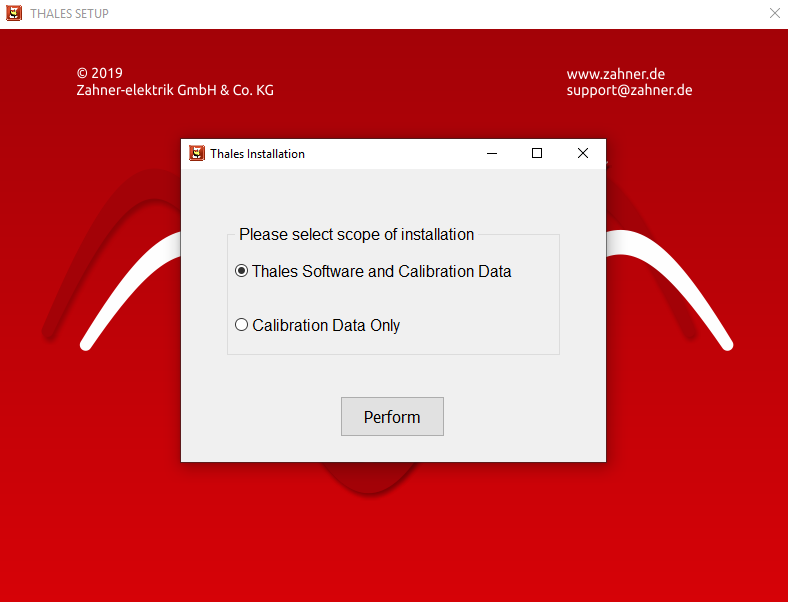
The first window asks if you want to install the Thales software with the calibration data or the calibration data only. For installation of the Thales software, select the option Thales Software and Calibration Data and click Perform.
The "Calibration Data Only" option will be used when installing the latest version of the Thales software, downloaded from Zahner's Website. In this case, after the installation of the Thales software the calibration data has to be installed.
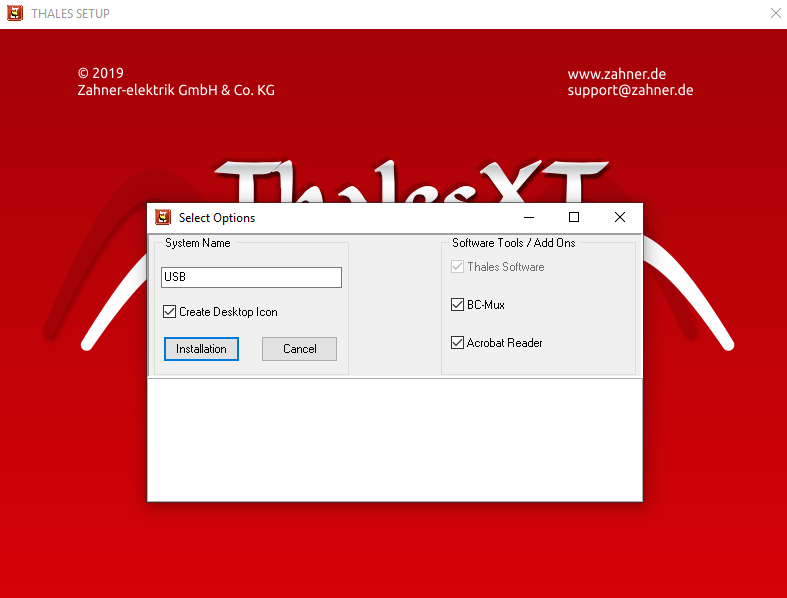
Select the additional tools or Add Ons (like BC-MUX, Acrobat Reader) which you want to install.
Click Installation. This will start the installation process.
During the installation, the folders FLINK and THALES are created in the c:\ partition of the PC.
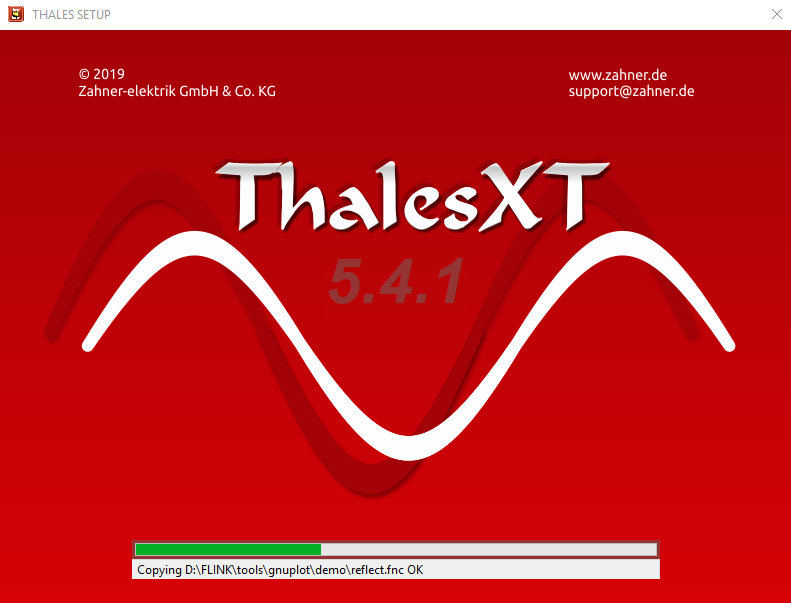
Follow the instructions on the screen as follows:
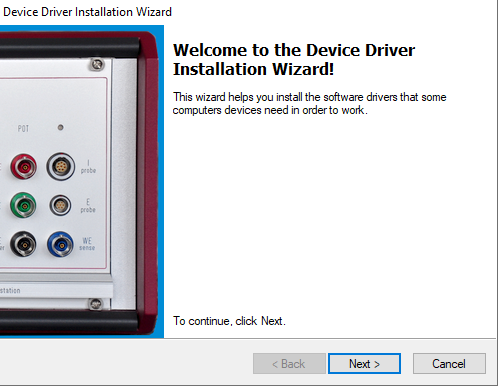
USB device drivers will be installed. This window will be shown in the default language of Windows.
Click Next.


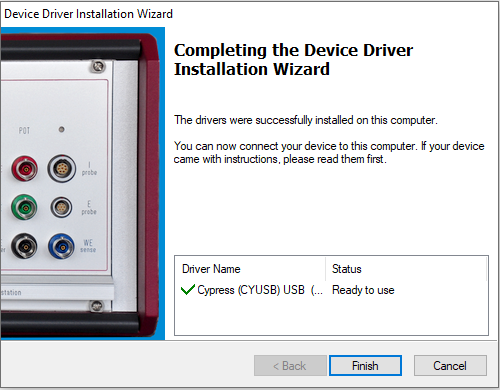
Installation of the ZENNIUM USB driver finished, click Finish.
With this, the AMOS USB interface installation will be completed. Now the installation of other software starts automatically. A list of the software is given below
- FTDI USB
- BC-MUX: Add-Ons for high-power DC test systems
- Adobe Acrobat DC Reader: Needed for displaying online-help
- Zahner Analysis
2.1.1 FTDI USB installation:

After the installation of the ZENNIUM USB driver (Cypress USB), the installation of the FTDI USB interface starts automatically.
Click Next to start the installer.


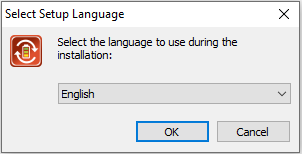
Choose the desired language for the Installation setup and click OK.
2.1.2 BC-MUX installation

After the installation of the FTDI USB interface, the installation of the BC-MUX will start automatically (if BC-MUX is selected at the start of the installation).
Choose the destination location for the installation of BC-MUX.
Click Next.
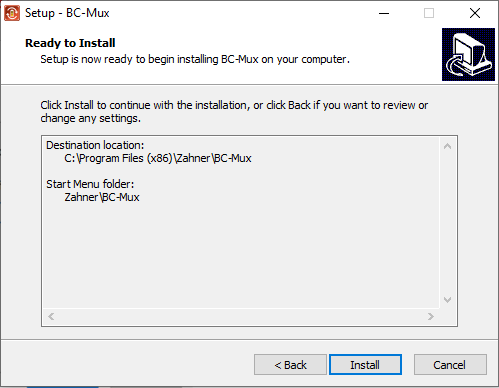 Click Install to start the installation.
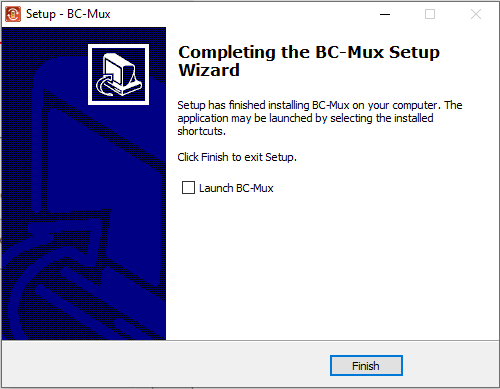 Installation finishes, click Finish.
2.1.3 Adobe Acrobat Reader DC installation
After the installation of the BC-MUX, the installation of Adobe Acrobat Reader DC software starts automatically (if Adobe Acrobat is selected at the start of the installation).

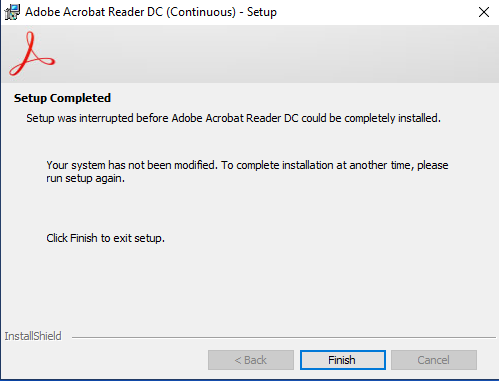
Installation finished. Click on Finish.
If the Installer detects an advanced version of the Adobe Acrobat reader then it will automatically terminate the installation process.
2.1.4 Zahner Analysis installation
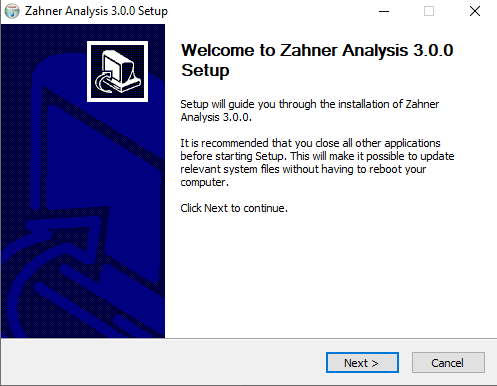
After the installation of Adobe Acrobat, the installation of Zahner Analysis software starts automatically.
The installation window also shows the software version of the Zahner Analysis software (here: Zahner Analysis 3.0.0). Click Next.
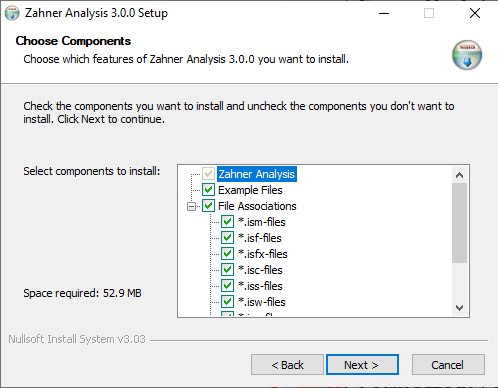
Select the desired file types you wish to install for Zahner Analysis. We advise choosing all file types.
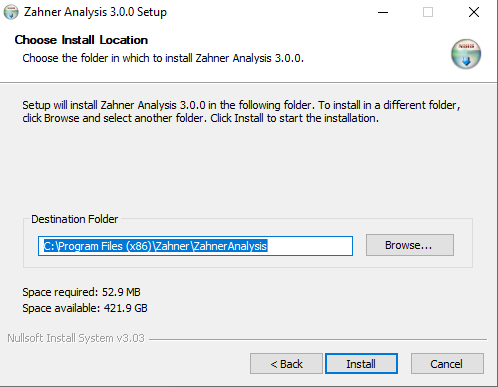
Choose the destination folder for installing the Zahner Analysis software. Click Install.
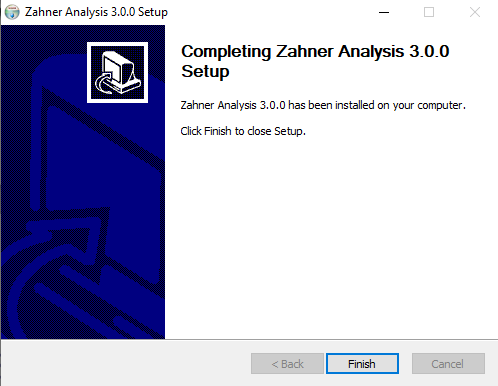
The installation of the Zahner Analysis software is complete. Click Finish.
After the installation of the Zahner Analysis software, the software must be activated. Further information about activation is provided in the Zahner Analysis manual.
2.1.5 Choose Classic mode or XT Mode
After the installation of the Thales software and the Zahner Analysis software, now the installer asks to choose between the Thales Classic or XT mode as default Thales mode.
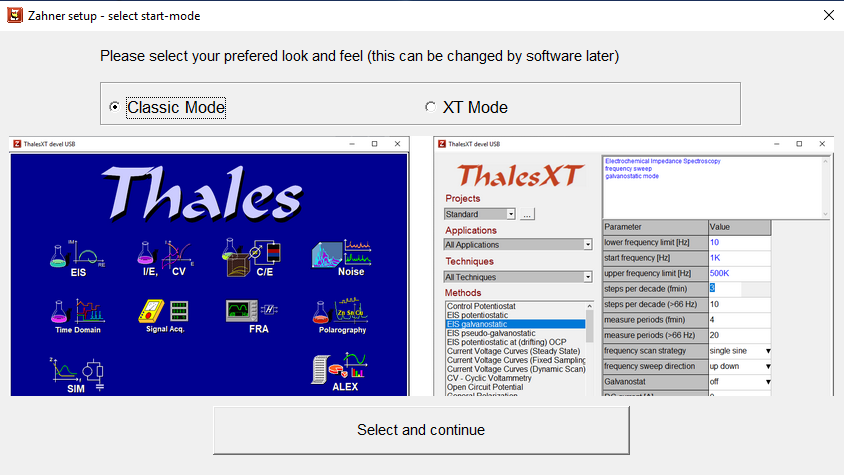
Thales Classic mode: Classic mode is a complete mode where each parameter can be fully controlled and dedicated experiments can be performed.
ThalesXT mode: ThalesXT mode allows a much user-friendly interface for performing different experiments. We suggest, ThalesXT for the users who are beginners in the field of electrochemistry.
Choose between the ThalesXT or the classic mode as a default mode of Thales software. Shifting from classic mode to Thales XT or vice versa is always possible even after installation.
The user can easily switch from the Thales XT mode to the classic mode via clicking on the  icon on the top left corner and then click on “Switch to classic mode.” If in classic mode then the user can switch to the Thales XT mode via clicking on the
  icon on the top left corner and then click on “Switch to XT mode.”
Installation Finished, click Finish.
2.2 Installation of calibration data
In the end, the installation of the calibration data starts automatically.

Click Install to start the installation.
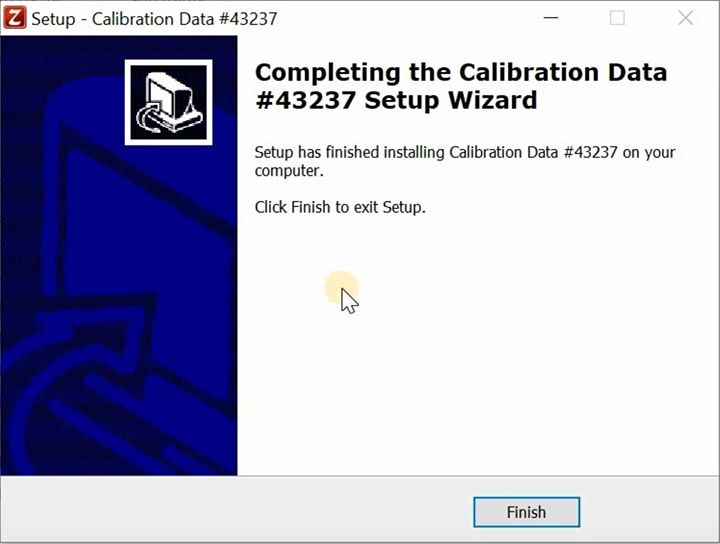 Installation is now complete!
After the Installation of calibration data, a folder is created in the c:\thales\hardware\im6 folder. The name of the created folder will be the same as that of the serial number of the ZENNIUM series potentiostat.
Each ZENNIUM series potentiostat is individually calibrated to provide optimum performance. This means that the calibration data provided to you in the Zahner USB are only for your ZENNIUM potentiostat. In the future, if the user installs a newer version of the Thales software then after the installation of the Thales software the user must install the calibration data for their ZENNIUM potentiostat.
Keep the provided Zahner USB safe for installing the calibration data in future. Upon loss of the calibration data for your Zahner potentiostat. Please contact Zahner’s support team to get a copy of the calibration data.